Overview
Store Locator allows you to dynamically display your store's physical locations on an interactive map.
This article outlines how to add, remove, and replace store locations in the Store Locator app.
Add a Store
- From the Shopify admin, select Apps.
- Select Store Locator.
- Select Add location on the app dashboard.

- Enter a Store Name.

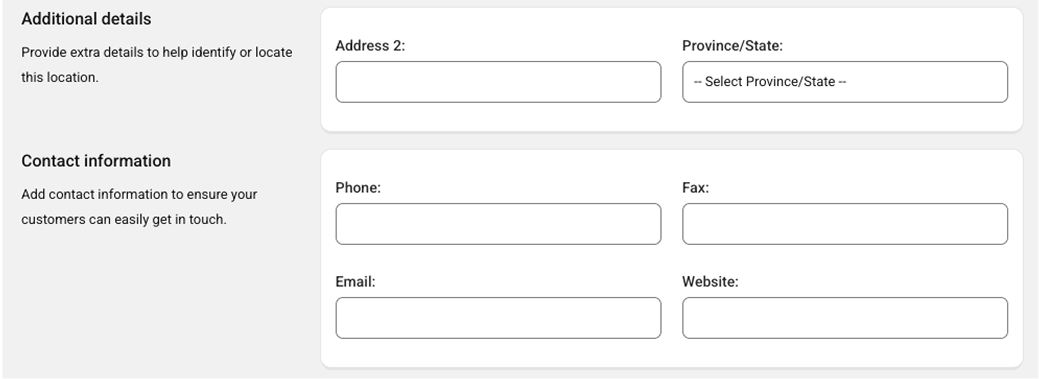
- Fill in the rest of the details (Address, City, Country, Province/State, Postal/Zip Code, Phone number, Fax number, Email address, Website).

- Enter the Hours of Operations.

- Select Add a New Search Field, enter the Search Term and select Add. (optional)

- Select Add a new Extra Field, enter a Field Name and select Add.(optional)

- Select Find My Store.

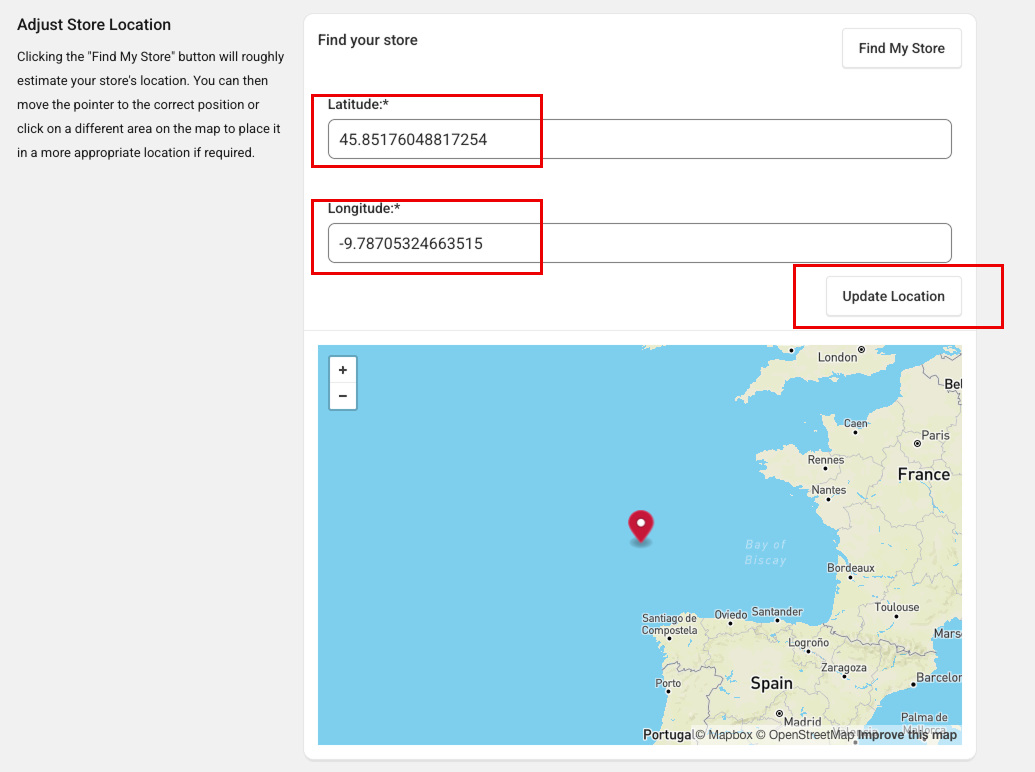
- If using Find My Store does not accurately place your store's location, use GPS Coordinates to get your longitude and latitude coordinates. Select I know my Coordinates and enter the latitude and longitude of your store, then select Update Location.

- If using Find My Store does not accurately place your store's location, use GPS Coordinates to get your longitude and latitude coordinates. Select I know my Coordinates and enter the latitude and longitude of your store, then select Update Location.
- Select Save.
Remove a Store
- From the Shopify admin, select Apps.
- Select Store Locator.
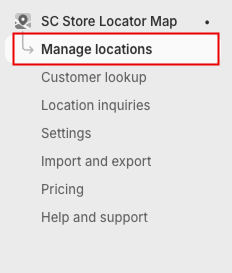
- Select Manage locations.

- Click on the Delete location button.

- Confirm action.

Remove All Stores
- From the Shopify admin, select Apps.
- Select Store Locator.
- Select Manage locations.

- Select Delete all locations.

- Confirm action.

Replace All Stores
In order to replace all of your stores, you will need to export all of your stores first.
Please visit Bulk Import and Export Stores for more information.
Troubleshooting
Having trouble adding a store, or need answers about a different feature? We're here to help!
Please visit Need Help? Contact Us for more information on how you can get in touch.
Was this article helpful?
That’s Great!
Thank you for your feedback
Sorry! We couldn't be helpful
Thank you for your feedback
Feedback sent
We appreciate your effort and will try to fix the article