Adjust the Swatch Size in Product Options

Modified on Mon, 29 Apr 2024 at 03:22 AM

Overview

There are 3 different ways you can adjust the size of your swatches in SC Product Options 2.0:

  • Adjust the display settings
  • Adjust the theme settings
  • Use custom CSS

It is important to note that it is not currently possible to change your product page image when a swatch is selected. If this is something you are interested in, please reach out to our partners at Storetasker for a quote.

 Pro-Tip

Looking to create Swatches? Check out our guide here: Create Swatches in Product Options


Method 1: Adjust the Display Settings

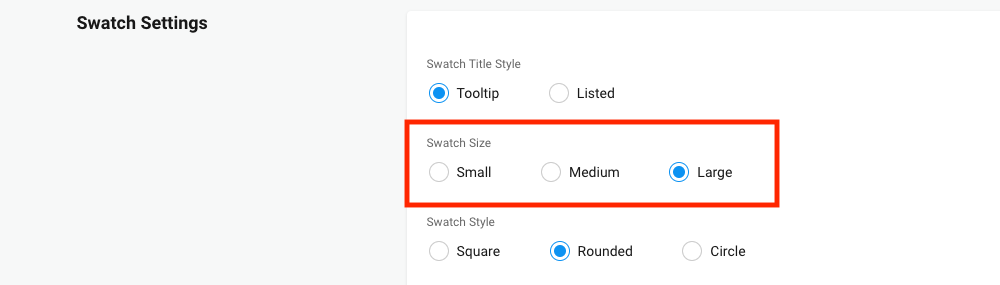
Within the SC Product Options display settings, there are 3 predetermined sizes for the swatches that can be selected:

  • Small
  • Medium
  • Large

To adjust the size of your swatches, please follow the steps below.

  1. From within the Product Options admin, select Settings > Display Settings.
  2. Under Swatch Settings, select Small, Medium, or Large, then Save.

    Product Options Swatch Settings


Method 2: Adjust the Theme Settings

  1. From the Shopify admin, select Online Store, then Actions > Edit code.
  2. Under Config, select settings_schema.json.

    select config, then settings_schema.json

  3. Copy and paste this code at the end of file, then select Save:

    Note: You will need to add a comma after the closing curly brace before pasting this code.

    {
    "name": "Bold Customizations",
    "settings": [
    {
    "type": "checkbox",
    "id": "BOLD_custom_swatch",
    "label": "Use Custom Swatch Size",
    "default": true },
    {
    "type": "number",
    "id": "BOLD_custom_swatch_size",
    "label": "Custom Swatch Size",
    "default": 5
    }
    ]
    }

    paste the code

  4. Under Layout, select theme.liquid.
  5. Find {{ content_for_header }}.

    Find content for header

  6. Right after the {{ content_for_header }} line, paste this code, then select Save.
    {%- if settings.BOLD_custom_swatch == true -%}
    <style>
    span.bold_option_value_swatch {
    width: {{ settings.BOLD_custom_swatch_size | default: 5 }}rem;
    height: {{ settings.BOLD_custom_swatch_size | default: 5 }}rem;
    }
    </style>
    {%- endif -%}

    paste the code after content_for_header

  7. Select Customize theme.

    select customize theme

  8. Select Theme settings.
  9. You should see SC Customizations on the list, where you can adjust the swatch size.

    Bold_Customization.png

  10. To adjust the size of the swatch, enter in your desired number and select Save in the top-right corner.

    Bold_Custom_Swatch_Size_Adjustment.png


Storefront Examples

By default, the swatch sizes are 5 rem:

5rem_Swatch_Size_Example.png

Here is an example of a 2.5 rem swatch size:

2.5rem_swatch_Size_Example.png

Finally, here is an example of a 1 rem swatch size:

1rem_Swatch_Size_Example.png


Method 3: Use Custom CSS

With custom CSS, the size of your swatches can be adjusted through your Shopify theme's code.

  1. From the Shopify admin, select Online Store, then Actions > Edit code.
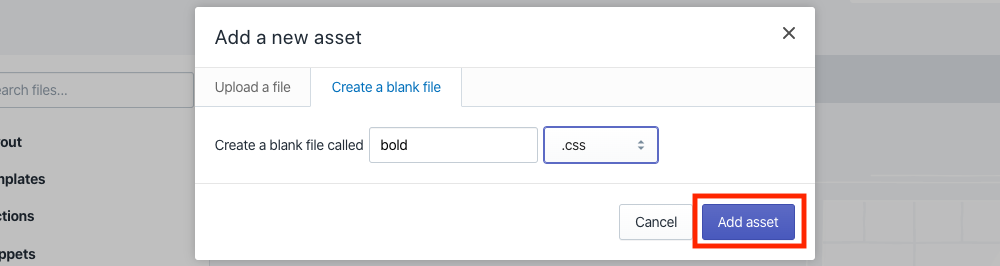
  2. Under Assets, select Add a new asset.
  3. Select Create a blank file.
  4. Enter the name bold, and select .css from the dropdown menu.
  5. Select Add asset.

    enter bold.css and select add asset

  6. Add your CSS styling.

    Note: To target the swatch specifically, please apply the CSS to bold_option_value_swatch. For example:

    .bold_option_value_swatch {
    width: 32px;
    height: 32px;
    }

  7. Select Save.
  8. Under Layout, select theme.liquid.
  9. Find the </head> element near the top of the file.
  10. Copy and paste this line right before </head>:
    {{ 'bold.css' | asset_url | stylesheet_tag }}

  11. Select Save.

Your swatch sizes should now be adjusted to the sizes entered within the bold.css asset on your theme.

Was this article helpful?

That’s Great!

Thank you for your feedback

Sorry! We couldn't be helpful

Thank you for your feedback

Let us know how can we improve this article!

Select atleast one of the reasons
CAPTCHA verification is required.

Feedback sent

We appreciate your effort and will try to fix the article